Picture this: you’re standing in your Brooklyn bathroom, the water swirling around a sleek, brand‑new tub that you chose, bought, and installed yourself. No contractor’s invoice, no mystery markup—just the pride of a job well done.
Most DIYers think swapping a tub is a nightmare reserved for pros, but the truth is far simpler. The real challenge is knowing which tools to grab, how to avoid the common slip‑ups, and keeping the work on schedule so you can enjoy that fresh soak sooner.
That’s why we’ve broken the whole process down into bite‑size steps, from measuring the space to sealing the final joint. Each phase is laid out so you can move forward with confidence, no guesswork required.
Ready to roll up your sleeves and see exactly what you need to do, day by day? Keep reading and the roadmap will unfold before you.

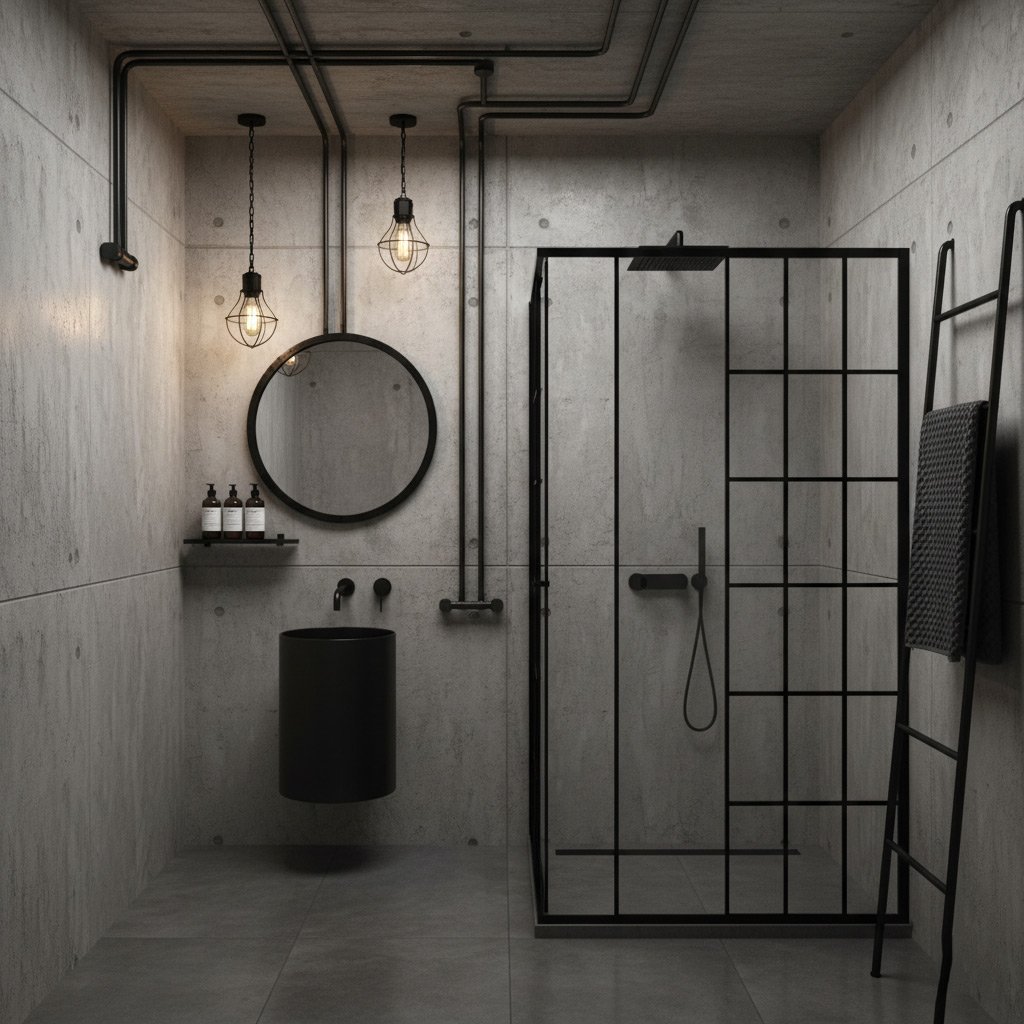
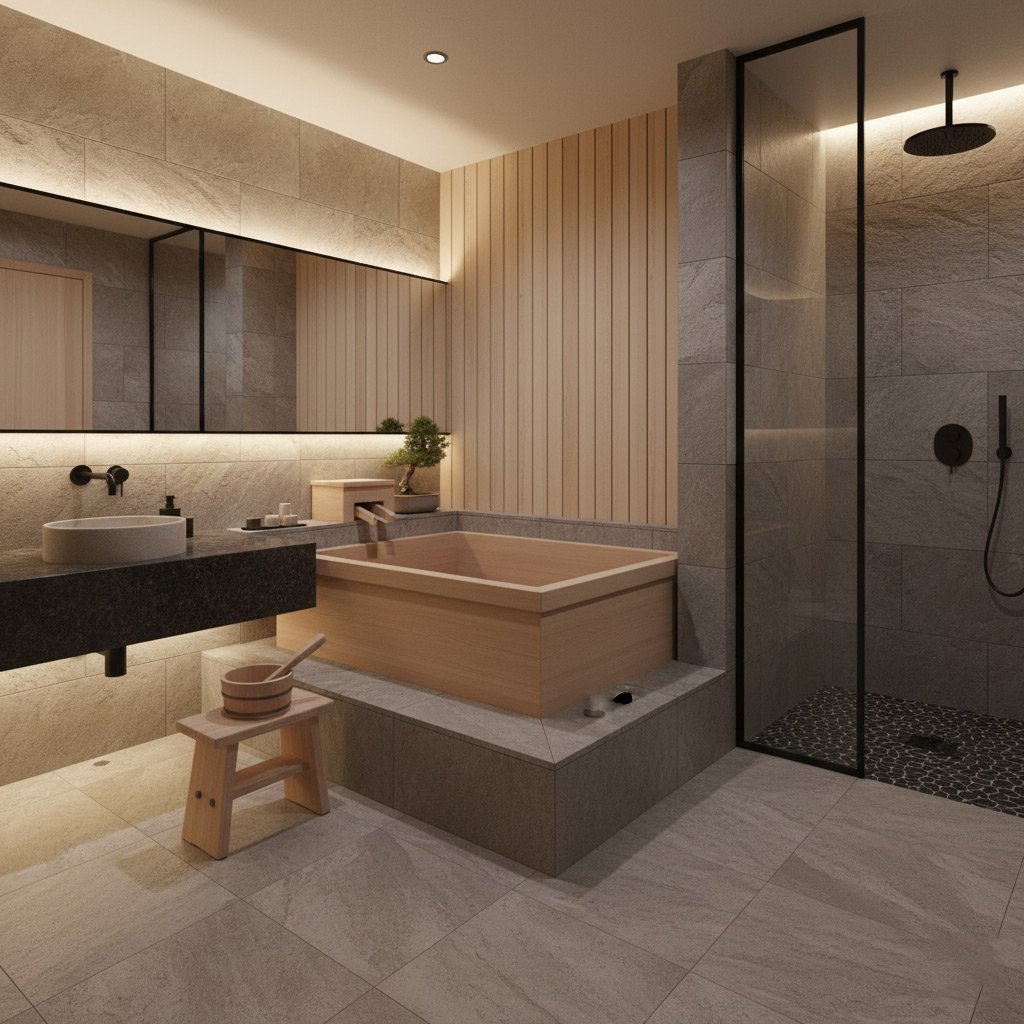
Why a New Tub Is the Smart DIY Move for Brooklyn Homeowners
Brooklyn apartments are cramped, but a fresh tub can open up the whole bathroom. It’s not just about looks—a modern basin holds heat longer, cuts water waste, and can boost your resale value without a contractor’s markup.
Doing it yourself means you pick the exact style you love, from vintage claw‑foot to sleek acrylic, and you pay only for the tub and the tools you already own. Skip the middleman and you’ll see a savings of $800‑$1,200 on average.
What You’ll Gain
- Full control over the timeline – finish in a weekend, not months.
- Hands‑on confidence – learn the trade that most landlords keep secret.
- Instant bragging rights – a bathroom that screams “I did this myself.”
Step 2: Gather Tools & Materials
Before you even lift the old tub, line up the gear you’ll need. A well‑stocked toolbox saves you from frantic trips to the hardware store mid‑project, and it keeps the timeline tight.
Essential Tools
- Adjustable wrench – for tightening and loosening the supply lines.
- Reciprocating saw with a fine‑tooth blade – cuts through old caulk and the tub’s flange.
- Level and tape measure – guarantees a straight, square install.
- Silicone gun and high‑quality sealant – the final barrier against leaks.
Don’t forget safety gear: gloves, goggles, and a dust mask. A quick check now prevents nasty surprises later.
Must‑Have Materials
- New tub (pre‑drilled for fixtures if possible).
- PVC or copper supply lines matching your existing plumbing.
- Shower pan or waterproof membrane – the foundation of a leak‑free bath.
- Plumber’s putty and Teflon tape – small items that make a big difference.
Gather everything on a clean tarp in the bathroom. When everything’s in sight, you’ll move from “I think I have it” to “I’m ready to roll” without hesitation.

3. Strip Out the Old Tub
First thing’s first: turn off the water at the main shut‑off and disconnect the drain line. Don’t skip this step—a surprise leak can ruin hours of work. Grab a bucket, a wrench, and a pair of slip‑resistant gloves, then loosen the slip‑joint fittings until the pipe comes free.
Safety First
Old tubs are often heavy and sit snug against the wall. Clear the area of rugs and toys, then lay down a drop cloth to protect your flooring. If the tub is anchored with mortar, use a hammer and a pry bar to break the seal gently; you don’t want to crack the surrounding tiles.
- Adjustable wrench
- Bucket for residual water
- Utility knife for caulk
- Pry bar and hammer
- Drop cloth or old sheets
Once the tub is loose, lift it out with a partner or a small hand truck. Set it aside on a sturdy surface—don’t just toss it in the corner. With the old tub gone, you’ll see the true dimensions of the space, and any hidden damage to the subfloor or walls becomes obvious.
Step 4: Position and Secure Your New Tub
First, slide the tub into the rough opening and give it a quick visual check. You’ll want the front edge flush with the wall and the back wall gap no more than a quarter‑inch. If it’s off‑center, grab a few shims and nudge it until it sits perfectly level.
Leveling the Tub
Grab a long carpenter’s level and lay it across the tub’s lip and along the side walls. Adjust the shims under the corners until the bubble sits dead center. Once you’ve got a rock‑solid level, tap the shims gently with a rubber mallet to lock them in place.
Fastening the Tub
Now it’s time to anchor the tub so it won’t shift later. Drill pilot holes through the pre‑drilled holes in the tub’s flange, then drive corrosion‑resistant screws into the studs.
- Use 1‑½‑inch deck screws for a secure hold.
- Space screws about 6 inches apart around the perimeter.
- Seal each screw head with a dab of silicone to keep water out.
With the tub locked in, you’ve cleared the biggest hurdle. The next step is hooking up the drain and overflow—stay tuned.
Step 5: Set the Tub and Hook Up the Drain
Level the tub
Slide the tub into the rough‑in opening and sit on it for a quick feel. Check for wobble with a long level; any dip means you need shims.
Grab a handful of plastic shims, tap them under the flange until the tub sits perfectly flat. Tighten the flange bolts just enough to hold the shims in place—don’t over‑tighten or you’ll crack the tub.
Connect the drain & overflow
Now it’s time to marry the tub to the plumbing. Apply a bead of plumber’s putty around the drain flange, then press the drain into the tub’s opening.
Secure the drain with the locknut, tightening by hand then a quarter turn with a wrench. Slip the overflow pipe into its slot, seal with Teflon tape, and tighten the coupling.
- Adjustable wrench
- Plumber’s putty
- Teflon tape
- Rubber mallet (optional)
Test and finish
Run water for a few minutes and watch the joint. If you see any drips, tighten the locknut a bit more or add more putty.
Once the seal is solid, caulk the perimeter with a silicone bead for a water‑tight finish. Step back, admire your work, and get ready for that first soak.
Step 6: Seal the Tub and Finish the Trim
Now that the tub sits snugly, the real test is keeping water where it belongs. A clean, watertight seal stops leaks, protects the subfloor, and saves you a costly redo later.
Choose the right caulk
For a bathroom that sees daily steam, pick a 100% silicone caulk labeled “mold‑resistant.” It stays flexible, adheres to porcelain and tile, and won’t crack after a few hot showers.
- Cut the tip at a 45° angle for a smooth bead.
- Load the tube into a caulking gun and purge any air bubbles.
- Apply a continuous line where the tub meets the wall and floor.
Apply and smooth the bead
Don’t rush. After laying the bead, dip a wet fingertip or a caulk‑smoothing tool into soapy water and run it along the joint. This pushes the caulk into the gap and creates a neat, concave finish.
Let the seal cure for at least 24 hours before running water. During that time, keep the area dry and avoid any pressure on the joint. Once cured, you’ll have a professional‑looking edge that holds up to Brooklyn’s busy bathrooms.
Step 7 – Seal the Joint and Add the Finishing Touches
Now the tub sits snug in its new home, but the real magic happens at the perimeter. A proper seal stops water from sneaking behind the walls and protects your flooring from costly damage. Grab a high‑quality silicone caulk, cut the tip at a 45° angle, and apply a steady bead along the gap where the tub meets the wall.
Quick seal checklist
- Use 100% silicone – it stays flexible and won’t crack.
- Smooth the bead with a wet finger or caulk‑smoothing tool for a clean line.
- Wipe away excess immediately; cured silicone is tough to remove.
While the caulk cures (about 24 hours), finish the look with trim or a decorative splash guard. This not only hides the seam but adds a polished, custom feel that rivals any showroom model. Need extra peace of mind? Check out our Drain Cleaning and Leak Detection services to ensure the new tub stays dry and problem‑free.
People Also Ask
What permits are required for installing a new bathtub in Brooklyn?
In most Brooklyn boroughs, a plumbing permit is required for bathtub replacements that involve moving fixtures or altering drainage. You can obtain the permit through the NYC Department of Buildings, and a licensed plumber must sign off on the work.How do I choose the right tub size for a small Brooklyn bathroom?
Measure the floor space and leave at least 2 inches of clearance on each side for proper installation. Opt for a compact alcove or corner tub to maximize usable space without sacrificing comfort.Can I replace a bathtub myself without a licensed plumber?
If the replacement only involves swapping the tub without changing plumbing connections, a DIY approach is permissible. However, any modifications to water lines or venting must be performed by a licensed plumber to meet NYC code.What are the best waterproofing methods for a DIY tub install?
Apply a high‑quality cement backer board followed by a liquid waterproofing membrane before tiling. Seal all seams with waterproof tape and use a silicone caulk around the tub edge for a watertight finish.How long does a typical bathtub replacement take for a DIYer in Brooklyn?
A straightforward swap usually takes 1–2 days, including demolition, installation, and finishing work. Complex projects involving plumbing reroutes or custom tile work may extend the timeline to 3–4 days.Brooklyn Bathroom Remodel specializes in custom bathroom renovations, bringing over a decade of craftsmanship to homes across Brooklyn. Their team combines local knowledge with skilled trades to deliver functional, stylish spaces tailored to each client’s needs.
Need Bathroom Remodel?
We provide fast, outcome‑focused services to Brooklyn and nearby neighborhoods (11201, 11215, 11217, 11231, 11203), delivering the results you need without delay. Our streamlined process moves you from request to completion in record time.
Get Bathroom Quote