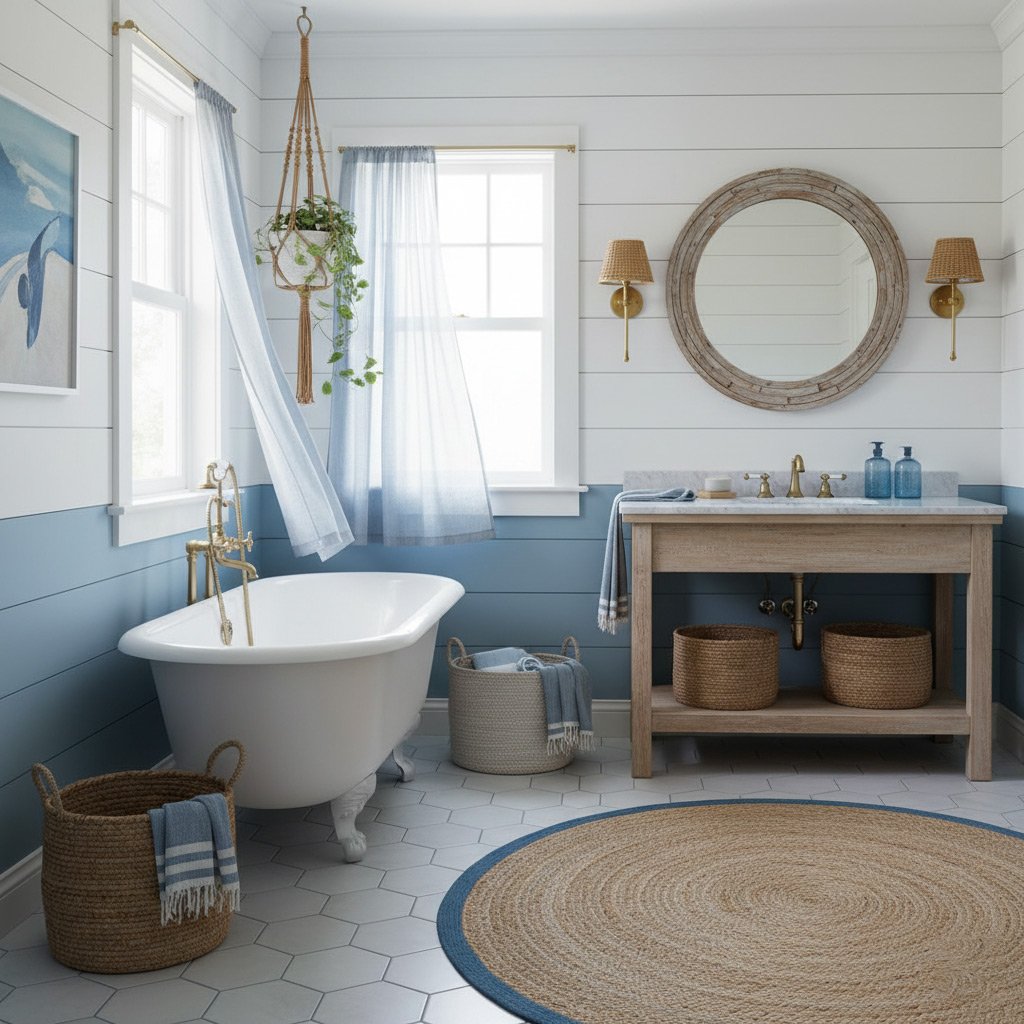
Imagine splashing into your brand‑new shower only to watch the liner bubble up like a bad magic trick—right in the middle of a Brooklyn summer. That gut‑punch feeling? It’s the exact nightmare homeowners face when they skip the basics.
Most of the time the culprit isn’t the installer; it’s a cheap liner, a rushed fit, or ignoring the city’s hard water quirks. One slip and you’re staring at mold, leaks, or a liner that peels off faster than a sticker on a subway pole.
Brooklyn’s old brick walls and humid streets make the stakes higher, but the fixes are simple if you know what to avoid. From the wrong adhesive to the dreaded “shrink‑wrap” mistake, each error can turn a dream bathroom into a costly repair.
Ready to keep your shower looking showroom‑ready for years? Let’s walk through the five disasters that most Brooklyn owners trip over and how to sidestep them—so you can enjoy a flawless rinse without the headache.
Understanding Brooklyn’s Water Quality and Its Impact on Shower Liners
Brooklyn’s tap water isn’t just H2O – it’s a cocktail of minerals that can turn a pristine liner into a ticking time bomb. The city’s supply comes from upstate reservoirs, then travels through miles of aging pipe, picking up calcium, magnesium, and a dash of iron along the way. Those minerals love to settle on surfaces, and a shower liner is the perfect landing pad.
Why Hard Water Messes With Your Liner
- Calcium buildup creates a rough texture that prevents adhesives from gripping.
- Magnesium accelerates mold growth in the seams.
- Iron stains can discolor PVC or acrylic, making the liner look cheap.
When you install a liner without accounting for these factors, you’re basically inviting the water to eat away at the bond. The result? Bubbling, peeling, and a bathroom that smells like a swamp. The fix isn’t magic – it’s knowing the water you’re fighting.
One simple test can save you a fortune: fill a glass with tap water, let it sit overnight, then check the residue. If you see a chalky film, you’re dealing with hard water. From there, choose a liner material that tolerates mineral attack and pair it with a sealant designed for high‑pH environments. That’s the foundation of a shower that lasts.
Choosing the Right Liner Material: PVC vs. CPE vs. Acrylic
Brooklyn’s water is a tough customer. It’s high in minerals, and that chemistry can chew through a cheap liner faster than a subway rat finds a crumb. Picking a material that can stand up to hard‑water stress saves you time, money, and a lot of headaches.
PVC (Polyvinyl Chloride)
PVC is the workhorse of the shower world. It’s cheap, easy to cut, and resists most chemicals. But in a city with Brooklyn’s water, it can become brittle if you skimp on the thickness.
- Pros: Affordable, widely available, simple to install.
- Cons: Prone to cracking under constant mineral exposure; may warp if not properly supported.
- Tip: Choose a 20‑mil gauge or thicker for added durability.
CPE (Chlorinated Polyethylene)
CPE is the middle child—more resilient than PVC, yet not as pricey as acrylic. It handles temperature swings and hard‑water deposits without shrinking.
- Pros: Flexible, resistant to mold, holds up well in humid basements.
- Cons: Slightly heavier; requires a stronger adhesive.
- Tip: Pair with a silicone‑based sealant to lock out moisture.
Acrylic
Acrylic feels premium, and it shows. It’s smooth, non‑porous, and practically immune to mineral staining. The downside? It’s the most expensive option and can crack if the sub‑floor shifts.
- Pros: Ultra‑smooth finish, excellent water resistance, looks high‑end.
- Cons: Higher cost, needs careful handling during installation.
- Tip: Use a reinforced backer board to keep the acrylic flat and stable.

Proper Installation Techniques to Prevent Bubbling and Peeling
Prep the Substrate
Before the liner ever sees a drop of water, the wall must be spotless and dry. Sweep away dust, wipe down any old caulk, and let the surface air‑dry for at least 24 hours.
Check for hidden moisture with a simple plastic sheet test: tape a piece of clear film to the wall, wait an hour, then feel for condensation. If it’s damp, wait it out—rushing this step is the fastest way to a bubbling disaster.
- Use a non‑abrasive cleaner; harsh chemicals can etch the brick or tile.
- Sand any glossy spots lightly to give the adhesive something to grip.
- Seal cracks with a flexible, water‑resistant filler before you lay the liner.
Cutting & Positioning
Measure twice, cut once, then step back and visualize the final fit. A good rule of thumb is to leave a ½‑inch overhang at the top and bottom; it gives the liner room to expand without pulling away.
When you score the liner, use a sharp utility knife and a straight edge. A jagged edge invites air pockets, and those pockets become bubbles the moment the shower heats up.
- Mark the cut lines with a pencil, not a permanent marker.
- Make shallow passes with the knife; deepen gradually.
- Fit the piece loosely first, then trim any excess after it’s glued.
Adhesive Application & Sealing
Spread a thin, even layer of a hard‑water‑rated adhesive using a notched trowel. Too much glue creates a soft spot that lifts, while too little leaves gaps for water to seep.
Press the liner firmly from the center outward, using a small roller to chase out air. Work in 12‑inch sections, and wipe away any excess adhesive before it skins over.
- Allow the adhesive to cure for the manufacturer’s recommended time—usually 24 hours.
- Seal the seams with a flexible, mold‑resistant caulk; smooth it with a fingertip for a tight seal.
- Ventilate the bathroom for at least 48 hours after installation to let any residual moisture escape.
The Right Adhesives and Sealants for Hard‑Water Environments
Why Standard Glue Fails
Brooklyn’s hard water is a silent saboteur. It leaches calcium and magnesium, turning ordinary adhesives into brittle crusts. When the bond weakens, the liner lifts.
Typical construction glue lacks the chemistry to resist mineral buildup. The result? Peeling, bubbling, and a bathroom that looks like a construction site.
Top‑Tier Adhesives That Actually Hold
Pick a product that talks the same language as your water. Here are the winners:
- 100% silicone caulk – stays flexible, repels water, and won’t crack under mineral stress.
- Polymer‑modified thinset mortar – bonds like steel, yet tolerates slight movement.
- Epoxy‑based tile adhesive – perfect for high‑traffic showers, creates a waterproof barrier.
Apply a thin, even bead and press the liner firmly. No shortcuts; a thin layer is stronger than a sloppy flood.
Sealants That Keep the Moisture Out
Sealants are the final line of defense. Choose one that can survive Brooklyn’s humidity and hard‑water spray.
- Marine‑grade silicone – resists mold and mineral stains for years.
- Urethane sealant – offers superior adhesion to metal and tile, ideal for corners.
- Hybrid acrylic‑silicone – balances flexibility with a clean finish.
After the adhesive cures, run a bead of sealant along every joint. Smooth it with a finger or a caulk tool, then let it cure fully before the first shower. That’s how you lock out the water that wants to ruin your liner.
Avoiding Common Mistakes: Shrink‑Wrap, Over‑Cutting, and Poor Ventilation
Shrink‑Wrap: The Silent Saboteur
When a contractor tries to “shrink‑wrap” a liner to save time, the result is a tight seal that can’t breathe. The liner expands with heat, then pulls away from the wall, creating gaps where water seeps.
Key fix: Leave a ¼‑inch breathing room around the perimeter. Let the liner sit flat for 24 hours before sealing the edges.
Over‑Cutting: When Less Isn’t More
Snipping too much off the edges sounds harmless, but it leaves the liner vulnerable to stress at the corners. Those thin strips crack the first time you step in.
Use these guidelines:
- Measure twice, cut once – always add a ½‑inch buffer.
- Trim only after the adhesive has set, not while it’s still wet.
- Keep the original shape intact; the liner is designed to flex.
Poor Ventilation: The Moisture Magnet
Brooklyn’s humidity loves a closed‑in shower. Without proper airflow, the liner stays damp, inviting mold and adhesive breakdown.
Install a vent that moves at least 1 CFM per square foot of shower space. Run the fan for 20 minutes after each use, and keep the bathroom door ajar when possible.
Case Study: How We Saved a Historic Brooklyn Brownstone from Liner Failure
The Challenge
When the owners of a 1905 brownstone called, the shower liner was already curling like a wilted leaf. The original PVC sheet had split at the corners, and hard‑water stains were seeping into the grout.
They’d tried a DIY fix with cheap adhesive, only to end up with a bubbling mess that threatened the historic plaster behind it. The stakes were high—any water intrusion could ruin original brickwork.
Our Solution
We started by stripping the failed liner and inspecting the substrate. The old mortar was crumbling, so we repaired it with a lime‑based mix that breathes.
Next, we installed a CPE‑reinforced acrylic liner—the sweet spot for Brooklyn’s mineral‑rich water. The material resists staining and holds up against temperature swings.
- Step 1: Apply a water‑proof primer designed for high‑alkaline environments.
- Step 2: Use a marine‑grade silicone sealant at every seam; it stays flexible when the water expands.
- Step 3: Secure the liner with stainless‑steel clips, not nails, to avoid rust spots.
We finished with a custom‑cut trim that matches the brownstone’s original crown molding. The result? A seamless, mold‑free shower that honors the building’s heritage while standing up to Brooklyn’s hard water.
Final Words: Maintaining Your Shower Liner for Long‑Term Success
Even the toughest liner will quit if you treat it like a forgotten relic. A quick weekly wipe and a yearly check‑up keep the water‑logged drama at bay. Think of it as a low‑effort habit that saves you a big repair bill.
Weekly Care Routine
- Use a non‑abrasive cleaner and a soft cloth. No steel wool.
- Rinse with warm water, then dry the surface with a microfiber towel.
- Spot‑treat any soap scum with a vinegar‑water mix (1:1) and let it sit 5 minutes.
These three steps take less than five minutes. Consistency beats a once‑a‑year deep clean every time.
Annual Inspection Checklist
- Look for bubbles or lifting at the seams. Small gaps become big leaks fast.
- Check the caulk line for cracks or mold. Replace any compromised sections.
- Test the water pressure. High pressure can stress the liner over time.
When you spot a problem, act now. A quick reseal or a fresh strip of liner is cheaper than tearing out the whole shower.
Need a professional eye? Our team specializes in Brooklyn’s hard‑water challenges. Browse our Shower Liners page for a full service menu and keep your bathroom looking showroom‑ready.
People Also Ask
What water quality issues in Brooklyn affect shower liner longevity?
Brooklyn’s hard water contains high levels of calcium and magnesium, which can cause mineral buildup on liners and accelerate cracking. Additionally, occasional chlorine spikes from municipal treatment can weaken PVC and CPE materials over time.Is PVC or CPE a better choice for a shower liner in a Brooklyn home?
PVC is cost‑effective and resistant to most chemicals, but it can become brittle in hard‑water environments. CPE offers superior flexibility and durability against mineral deposits, making it a preferred option for Brooklyn’s water conditions.How can I prevent bubbling and peeling during shower liner installation?
Apply the liner to a clean, dry surface and use a roller to smooth out air pockets before the adhesive sets. Ensure the adhesive is evenly spread and allow proper curing time according to the manufacturer’s instructions.Which adhesives work best with hard‑water areas like Brooklyn?
Two‑part epoxy or marine‑grade silicone sealants are ideal because they resist moisture intrusion and mineral deposits. Avoid standard latex caulks, which can break down when exposed to hard water.What common mistakes lead to shower liner failure in historic Brooklyn brownstones?
Over‑cutting the liner, using shrink‑wrap without proper ventilation, and neglecting to seal seams allow water to seep behind the liner. These errors often cause mold growth and structural damage in older homes.Brooklyn Bathroom Remodel specializes in comprehensive bathroom renovations, bringing over a decade of craftsmanship to each project. Based in Brooklyn, the team combines local knowledge with a commitment to quality finishes and functional design.
Need Bathroom Remodel?
We provide fast, outcome‑focused services to Brooklyn and nearby neighborhoods (11201, 11215, 11217, 11231, 11203), delivering the results you need without delay. Our streamlined process moves you from request to completion in record time.
Get Bathroom Quote